You know how disruptive a sudden puddle in your bedroom can be. Searching for a guide on “Why Is My Aircon Leaking Water? Causes and Solutions” is a common first step for many frustrated homeowners.
We receive water leaking complaints as our second most frequent call at Cool Earth Aircon, right after the classic “aircon not cold” issue.
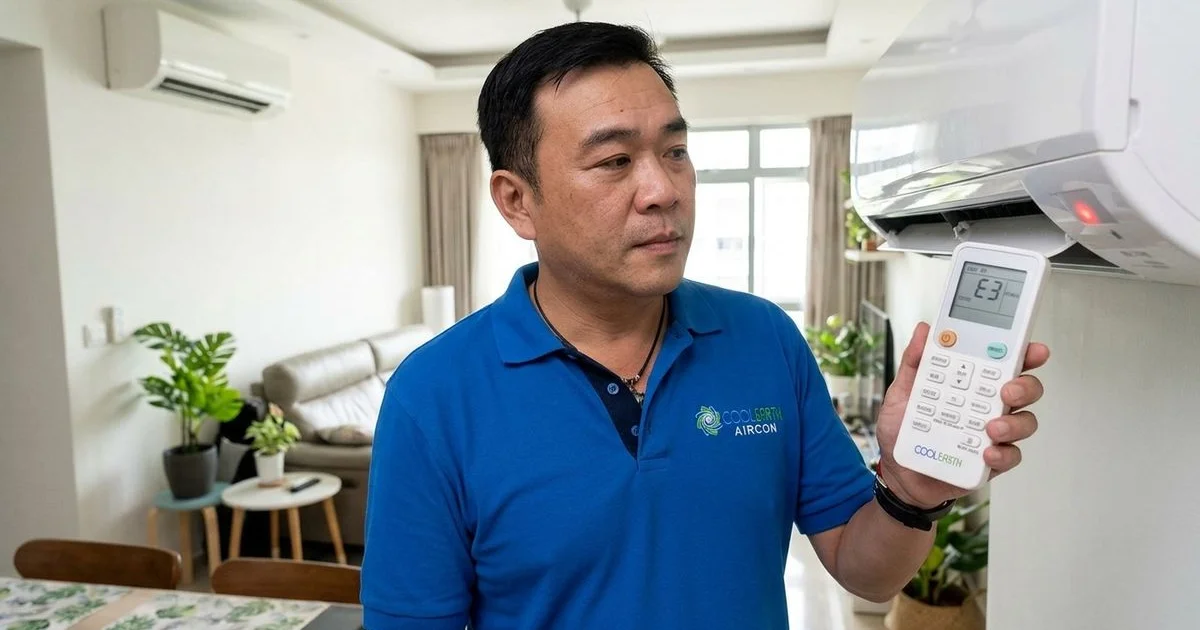
Brian founded our team in 2007 to resolve exactly these types of frustrating cooling problems. That steady drip usually means something has disrupted the normal condensation flow.
The good news is that most leaks have identifiable causes and are fixable without replacing the entire system. Let us examine the data behind these leaks and outline a clear plan to restore your dry walls.
How Your Aircon Produces Water
Our first step is understanding the normal cooling process. The system pulls warm, humid room air across a chilled evaporator coil. This sudden temperature drop causes moisture to condense into water droplets.
We see this exact physical reaction when water forms on a cold glass of iced Milo. The condensate water then collects in a drainage tray beneath the coil. Gravity pulls this liquid out through a PVC pipe on your exterior wall.
Fun Fact: Singapore’s intense humidity forces a single residential unit to produce 1 to 3 litres of water every hour.
That sheer volume requires a perfectly clear exit path. Any slight blockage forces the water over the edges of the tray and onto your floor.
Cause 1: Clogged Drainage Pipe
Frequency: Very Common | Fix: Professional Flush
This blockage is the primary reason for indoor leaks across Singapore. The PVC drainage pipe carries condensate liquid from the indoor fan coil to your exterior floor trap. Algae, dirt, and a jelly-like bio-slime will eventually accumulate inside this dark, wet tube.
Our technicians frequently see older 13mm pipes choked completely by this biological buildup. A completely restricted pipe forces the flowing water to reverse direction and flood the indoor unit.
Why Singapore Condensates So Much
The tropical climate here provides the perfect breeding ground for mould. The interior of your drainage network remains constantly wet and warm. These exact conditions allow bio-slime to multiply rapidly between your scheduled maintenance visits.
Signs of a Clogged Drain
- Water dripping directly from the front panel
- Gurgling sounds when the compressor powers on or off
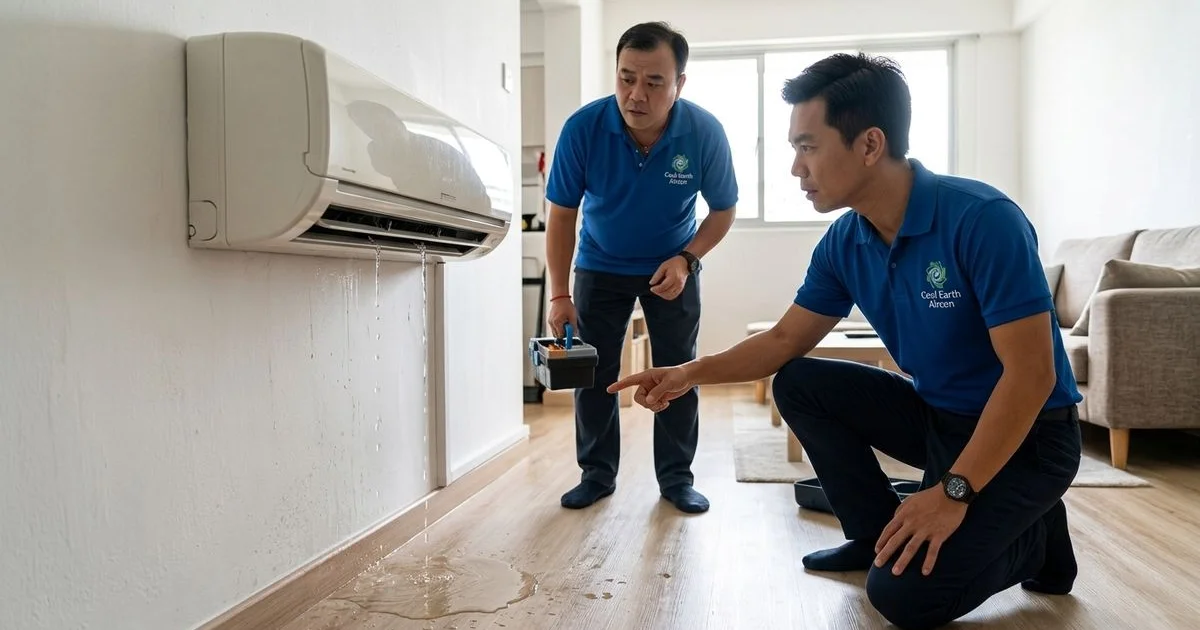
- Damp stains spreading on the wall beneath the fan coil
- A sour smell emanating from the vents
The Professional Fix
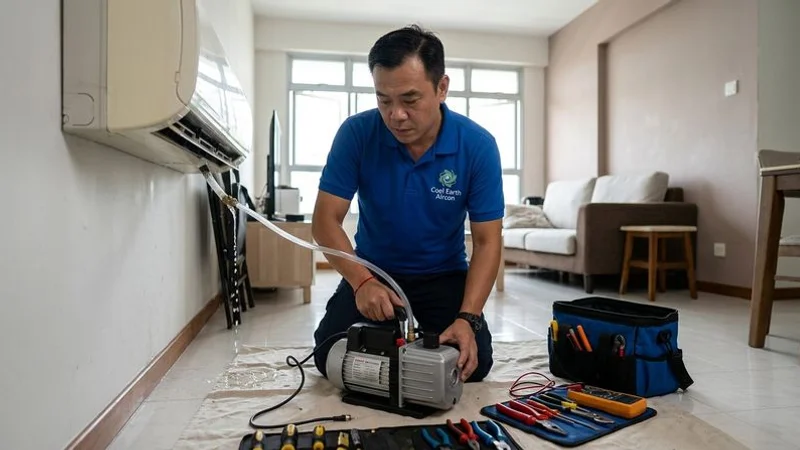
A trained technician will use a specialized wet-dry vacuum pump to suck the blockage out of the line. High-pressure water flushing will then clear any remaining slime from the pipe walls. We always include this critical flushing step during your regular servicing appointments as a preventive measure.
Severely calcified pipes may require a complete replacement. Upgrading to a thicker 16mm or 20mm PVC pipe significantly reduces the chance of future blockages.
Cause 2: Dirty Evaporator Coil
Frequency: Common | Fix: Chemical Wash
A thick layer of dust on your evaporator coil disrupts the entire condensation cycle. Dirt acts as an insulator, preventing the coil from effectively absorbing heat from the room air. This physical barrier also changes how the condensed droplets travel down the aluminium fins.
Instead of flowing neatly into the tray, the liquid drips irregularly and misses the collection pan entirely. Severe dirt buildup also causes localized freezing on the coil itself.
The Solution for Dirty Coils
The sudden melting of this ice overwhelms the drainage pan capacity. A professional chemical wash dissolves the stubborn grime and restores the correct flow pattern. Technicians will dismantle the outer casing to safely apply an alkaline-based foaming cleaner directly to the fins.
Cause 3: Improper Installation
Frequency: Moderate | Fix: Professional Adjustment
Water drainage problems can surface immediately if the contractor made a critical mounting error. These structural mistakes disrupt the gravity-fed flow of the condensate liquid.
Specific Installation Errors
- Incorrect tilt angle: Installers must mount the indoor unit with a 5-degree tilt in the direction of the drainage outlet. A perfectly level machine allows water to pool on the opposite side.
- Poor pipe gradient: The external pipe requires a strict 1% downward slope, which is roughly a 1/4 inch drop per foot. Water will stagnate and back up if the pipe runs horizontally or uphill.
- Loose pipe connections: Improperly glued PVC joints will seep liquid slowly over time.
- Missing insulation: Technicians must wrap the cold copper pipes in thick foam insulation. Bare pipes sweat heavily and drip directly onto your ceiling.
Correcting the Setup
Our team can adjust the metal bracket to achieve the correct tilt angle. A technician will then re-route the PVC piping to ensure a continuous downward gradient. Do not attempt to bend the bracket yourself, as the heavy unit could fall off the wall. If you suspect installation issues, call a professional to secure the heavy machinery safely.
Cause 4: Cracked or Damaged Drain Pan
Frequency: Less Common | Fix: Professional Replacement
The drain pan sits right beneath the cold evaporator coil to catch every drop of moisture. Years of continuous thermal expansion and contraction will eventually stress the plastic material. Older PVC pans become brittle and develop hairline fractures after 5 to 10 years of daily use.
Identifying a Broken Pan
- Moisture leaking from the back corners of the unit
- Dripping that continues immediately after clearing the main pipe
- Visible cracks spotted during a routine inspection
Fixing the Damage
A technician must order a replacement pan that matches your specific brand and model. This component swap usually costs around $80 to $150 in Singapore, including the labour required to dismantle the lower casing.
Cause 5: Low Refrigerant Gas
Frequency: Moderate | Fix: Professional Gas Top-Up
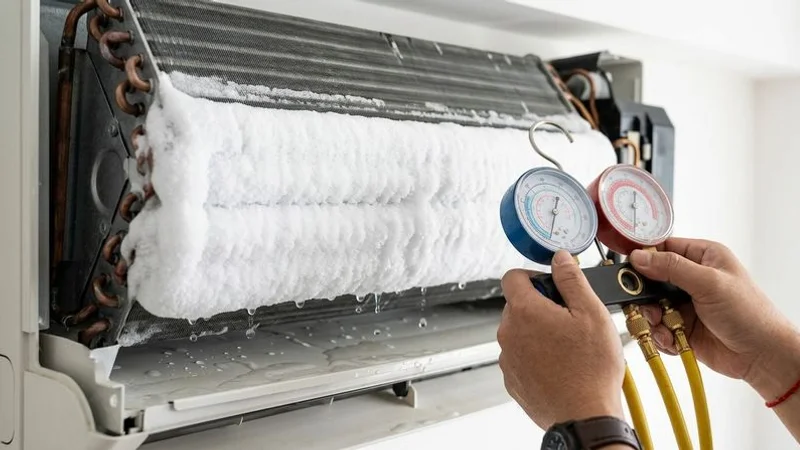
A lack of chemical refrigerant directly causes ice to form on the indoor coil. The system pressure drops when gas levels fall, forcing the evaporator coil temperature below freezing. The moisture in the air then freezes solidly onto the metal fins instead of dripping away.
This ice block will melt rapidly the moment the compressor cycles off. The sheer volume of the melting ice easily overflows the standard drainage tray.
Indicators of a Gas Leak
- Visible frost or ice chunks on the copper pipe connections
- Intermittent puddles that appear and dry up randomly
- The aircon not cooling well alongside the dripping water
- A faint hissing sound coming from the wall unit
Resolving the Pressure Drop
Adding more R32 or R410A gas will stabilize the pressure and stop the freezing. However, a technician must locate and patch the copper pipe leak before adding new refrigerant. Topping up a leaking system is a waste of money because the new gas will simply escape again.
Cause 6: Blocked or Full Condensate Pump (If Applicable)
Frequency: Less Common | Fix: Professional Repair
Many modern condominiums prohibit external drainage pipes on the building facade. These properties rely on motorized condensate pumps, like those from Aspen or Little Giant, to push the water upward to a concealed ceiling drain.
Signs of a Failing Pump
- A completely dry exterior drain despite heavy dripping indoors
- A loud buzzing sound coming from the pump housing
- Water spilling out from the pump reservoir box
Pump Maintenance
The mechanical float switch inside the pump can easily jam due to dirt buildup. A technician will flush the reservoir and test the motor to determine if a full replacement is required.
Prevention Tips
Proactive maintenance is the cheapest way to keep your floors dry. You can implement several simple habits to ensure smooth water flow.
1. Stick to a Servicing Schedule
Booking a professional cleaning every 3 to 4 months stops bio-slime from choking your pipes. The technician will thoroughly flush the drain line during this visit. An annual chemical wash strips the insulating dirt off the coil to maintain peak efficiency. Review our updated 2026 servicing price page for current maintenance rates.
2. Wash Your Air Filters
Clogged mesh filters restrict the warm air supply and cause the coil to freeze. You must rinse these reusable screens every 2 to 4 weeks under a tap.
3. Check the Drainage Outlet
Monitor the bathroom floor trap where your AC pipe discharges. You should see a steady drip while the compressor is running. Call for service immediately if the flow slows down to a trickle.
4. Protect the Pipe Route
Ensure no heavy furniture presses against the exposed PVC piping. Accidental bumps can alter the pipe’s gradient and create a low point where liquid pools.
5. Respond to Small Drips
A minor water stain on your wall will escalate into structural damage very quickly. Calling a technician early prevents expensive plaster repairs and mould remediation.
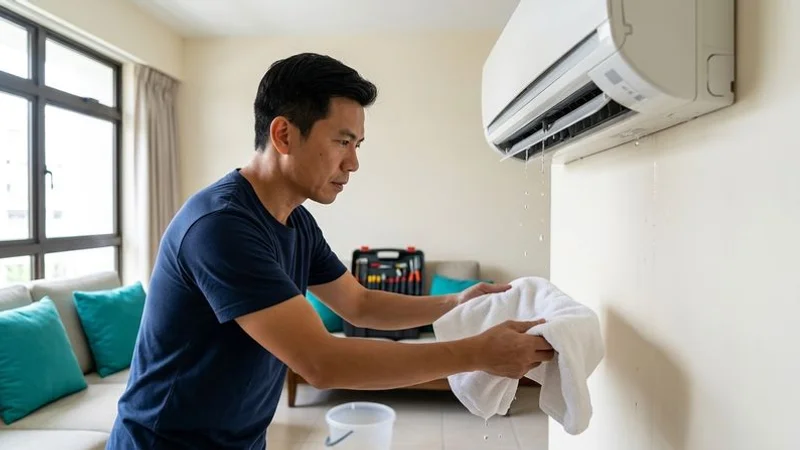
Emergency Measures While Waiting for Service
You can take immediate action to protect your property before the technician arrives.
- Turn off the power switch to halt the condensation process immediately.
- Place a wide plastic bucket under the fan coil to catch the falling drops.
- Check the metal fins for ice, and leave the machine off for 2 to 4 hours to let it defrost.
- Remove the front cover and wash the mesh filters in the sink.
- Leave the mounting bracket alone, as improper handling will damage the copper pipes.
Cost of Fixing Aircon Water Leaks
Repair pricing in Singapore depends entirely on the root cause of the blockage. Here is a baseline estimate for 2026 AC repair rates.
| Repair Action | Estimated 2026 Cost |
|---|---|
| Drainage pipe vacuum flush | $0 (Included in general service) |
| Replace 16mm PVC drainage pipe | $80 - $150 |
| Professional chemical wash | $85 - $150 per unit |
| R32 / R410A gas leak repair & top-up | $80 - $180 |
| Drain pan replacement | $80 - $150 |
| Condensate pump replacement | $150 - $300 |
| Bracket remounting and gradient fix | $100 - $200 |
Most minor blockages are resolved during a standard $40 servicing visit. This preventive cost is drastically lower than paying $500 to repaint a water-damaged partition wall.
Conclusion
Are you still asking yourself, “Why Is My Aircon Leaking Water? Causes and Solutions”? Answers are easy to find when you have the right team on your side.
WhatsApp our team at wa.me/6594273833 and send us a video of the drip. We can quickly diagnose the root cause and dispatch a technician to dry things out.

Brian founded Cool Earth Aircon in 2007. With 18 years of hands-on experience servicing aircon systems across Singapore, he leads a team that has maintained over 4,560 units.
Licensed Aircon Technician | 18 Years Experience | Three Best Rated (Tampines)